Selvedge Mug Rugs
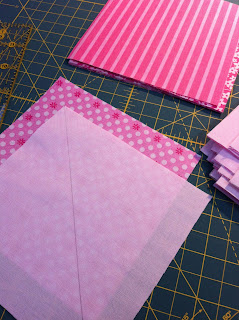
I collect the selvedge from my bought fabrics so I can make these pretty mug rugs. Normally, this piece of the fabric ends up in the trash, but I will cut them off both sides of a piece of yardage. When fabric is pressed and squared and ready to be cut, I line up my ruler and cut about 1" off the edges. This gives me the white strip with the fabric details like designer, manufacturer and colors plus about 1/2" of the actual printed fabric. Some people prefer to sew and not see any of the fabric, but I like the pop of color that I get with this width.
 |
| Selvedge Mug Rug |
These are simple, quilt as you go pieces. Cut your backing and batting about 1/2" larger all around than your desired finished size. Lay a single piece of selvedge from one corner to the opposite corner. Line up a second piece over the raw edge (the colorful fabric edge), overlapping about 1/4". Sew close to the selvedge edge of the second piece, through both fabrics, the batting and the backing. I use a white or off-white thread for almost all my selvedge piecing. Continue adding strips in this method right through to the corner.
 |
| Selvedge Mug Rug |
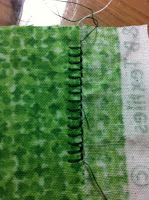
On the other half, tuck the raw edge under the selvedge edge and stitch through all layers. Repeat until your batting is covered with strips of selvedge.
 |
| Selvedge Mug Rug with scrap binding |
Trim your quilted piece to your desired finished size. I make mine 7"x9" and I can bind with a single strip of fabric cut the width of fabric. Or I will look through the left over pieces of binding from other projects to see if there is a piece or a few pieces that can be pieced together to make a binding.
 |
| Selvedge Mug Rugs |
Super fun to make, these mug rugs make great gifts!
--Ann
Comments
Post a Comment