 |
| Fabric Basket - FOR SALE |
FABRIC BASKETS
Material list:
- 2 coordinating fat quarters (Fabric A-outside, Fabric B-inside)
- 1 piece batting 12.5" square
- 4 buttons
- basic sewing supplies
Layer your fat quarters on top of each other on your cutting board and cut a 12.5" square - or you can cut each one separately - it's entirely up to you!
Prep for sewing by layering from bottom to top - batting, Fabric A right side up, Fabric B right side down. No worries at this point if Fabric A and B are mixed up - it will all work out in the end! Pin with 2 or 3 pins on each side to keep layers together.
Sew with 1/4" or 3/8" seam - I just line up the edge of my pressure foot with the fabric - around the entire outside edge of your layered pieces, leaving a 2-3" opening for turning. Clip corners, and trim batting close to sewn seam to reduce bulk.
Turn right side out, paying attention to the corners - we want these neat and tidy as they'll be very visible in the finished product. Hand or machine sew opening closed - I prefer hand stitching as it is less obvious in the finished basket.
Divide each side in half - put in a pin to mark the centers. And then mark halfway between center and the corners (each side will be divided into quarters).
And now, the tricky part - working with the inside of the basket up, bring the pins marking outside pins in to meet the pin in the center. Using a coordinating thread, stitch these 3 points together. Don't despair if your stitching is less than perfect - it won't be noticeable if your thread blends well with your fabrics. After the third side, you should start to see the bowl of the basket forming! We're almost done!
Now, take your fabric corners and flip over the folded edges made by the previous step. I've tacked those folded edges down as they tend to poke out with the passage of time. This is one of those times that a picture just doesn't quite cut it - you'll get it when you have your basket in front of you!
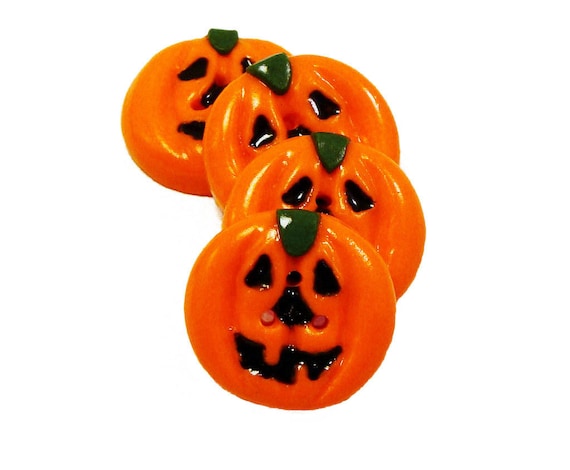
Sew the point down with a decorative button - I've used these sparkly pumpkin ones that I found in the fabric store, but would love to use these ones I found on Etsy:
 |
| Polymer Clay Pumpkin Buttons Cofanetto on Etsy |
These are great for any occasion - I've made one for my grand-daughter for her hair accessories, one in my sewing room for sewing essentials, but I'm sure you can find all kinds of uses for yours! Have fun creating!
--Ann
Linking up with Tip Junkie - (so sorry, couldn't get the button to load!)


This is so fun, cute idea !
ReplyDeleteWhat a cute idea and so fun and quick to make! Great little teacher gift in any seasonal fabric. Thanks for sharing. : )
ReplyDeleteoops! Typos in my name!
ReplyDeleteGreat little tutorial ;)
ReplyDeleteFun project. Have you tried making different sizes? How tall is this when it's finished?
ReplyDeleteYou can make different sizes for sure! Larger baskets will be a little floppy, so you might want to add some interfacing so they hold their shape. This one is about 5" diameter at the opening and 2.5" deep; 6.5" diameter at the bottom. Leave a link here if you make one - I'd love to see what you make!
DeleteFun little baskets and thanks for the tutorial - I can feel a few of these happening at my place!!
ReplyDelete